

How to use Magnets in a Treasure/Scavenger Hunt
MAGNETS ARE A GREAT MECHANIC TO CREATE A MAGICAL MOMENT
For me personally, any Adventure should have a moment where the players go “WOW, that was fun!”. One way of achieving such a moment is by using magnets.
I am going to give you three easy ways to incorporate magnets into your Adventure.
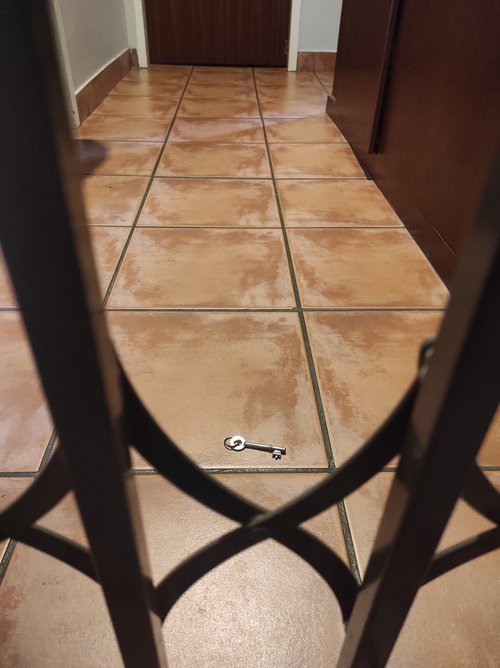
FISHING FOR SOMETHING:
This is probably the most obvious way to use a magnet. For example, a key is hidden in an inaccessible area, such as behind a grille, or inside a bottle (just make sure the bottle is fastened so that it cannot be turned upside down). Elsewhere, the players will find a magnet and string, making it possible for them to fish out the key. Instead of a key, a clue attached to something magnetic can also be used.
Something to remember is that not all metals are magnetic. If a key is not magnetic, you can attach it to a keyring to enable the magnet to grip.
IRON FILINGS:
I have used iron filings in two separate adventures, and both times the specific puzzles were a hit! It is particularly well-suited for a magic / wizard theme. Just a note of caution – this can get VERY messy… and it is not recommended for children to use without adult supervision.
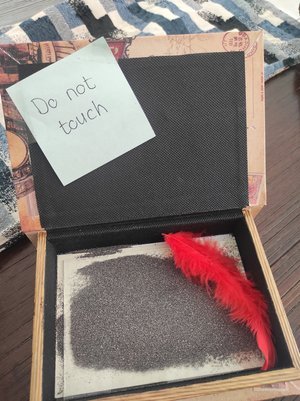
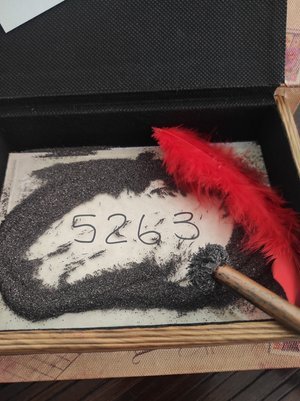
In the one adventure, I attached a magnet to the tip of a wand. There were instructions to swirl the wand over the Phoenix’s ashes (iron filings), reciting a magic spell. Viola! It revealed the code to a 4-digit combination lock.
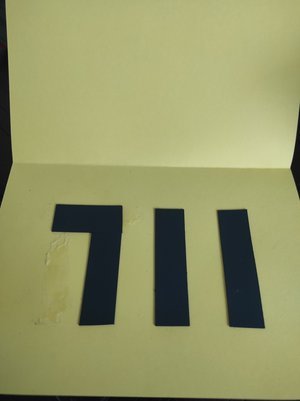
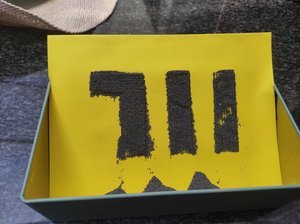
In the other Adventure, I formed the numbers to a 3-digit combination lock using magnetic tape. Elsewhere, there was a container with the Phoenix’s ashes (iron filings) and instructions on how to discard the ashes. As the iron filings are poured over the cardstock, the code becomes visible. If you want to use iron filings, you can get them on Amazon.
REVEALING THE CODE FOR A WORD LOCK:
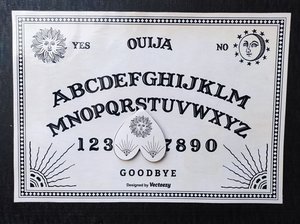
I have used this puzzle in a Halloween adventure. I made a Ouija board by printing one out, laminating it, and pasting it onto a black canvas. Then I glued a magnet behind each letter required for the code of the word lock. I also attached a magnet to the planchette. When moving the planchette over the board, it attaches to the letters with magnets at the back, revealing the letters of the word – in this case it was SLAY.
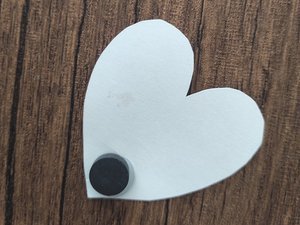
If you are not into magic or the paranormal, or want to use it for kids, the Ouija board can be substituted with an alphabet board. I just printed a page with all the letters of the alphabet and put it in a picture frame (without the glass). I then glued a magnet behind each letter required for the code of the word lock. A separate clue gave the instruction to attach the magnets to the alphabet board, which would then reveal the letters of the code – WILD.
I hope you have found some inspiration for your own adventure incorporating magnets!
Until next time,